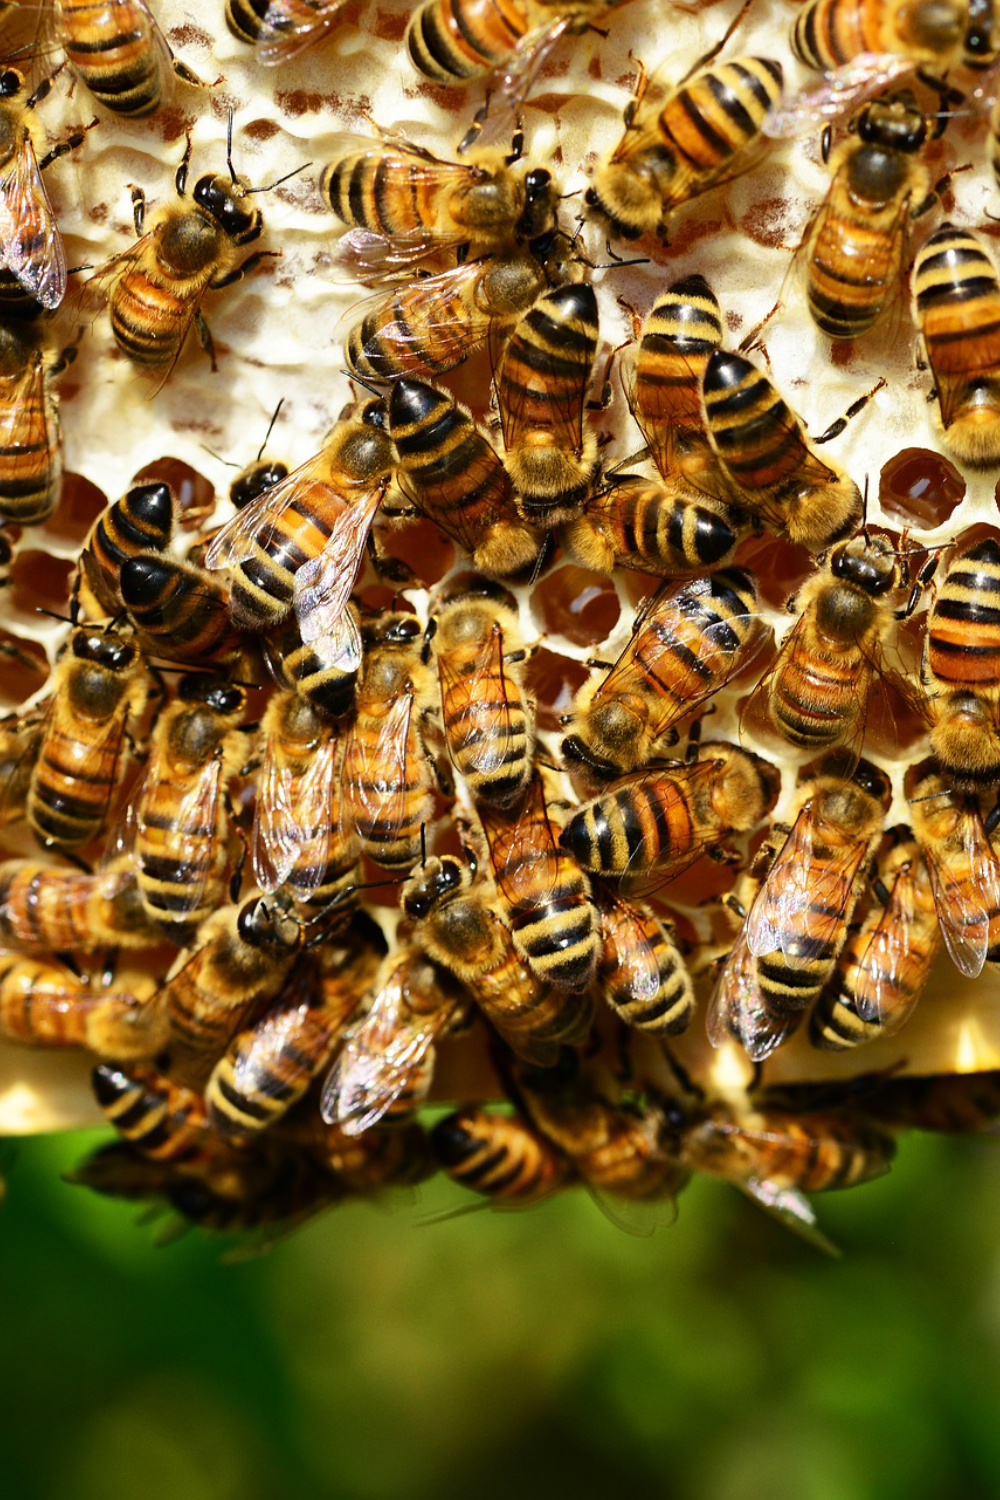
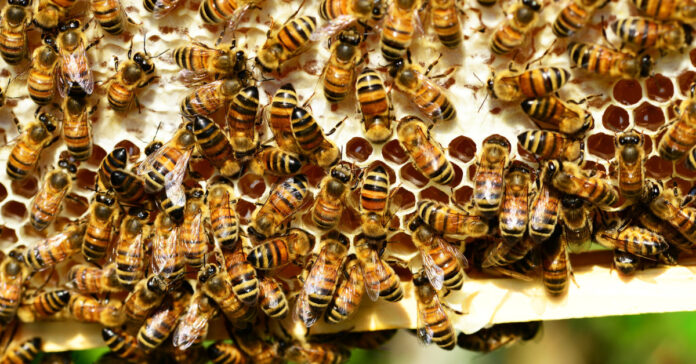
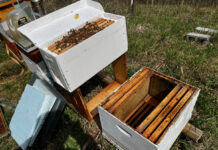
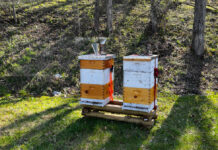
Five or six days after transferring my bees from their nucs into a full-size hive, I inspected the three beehives. All of them were doing well. Plenty of yellow and orange pollen is being brought in by the foragers and I could see the bees storing it away.
Hive 1
I switched hive bodies in the first hive, which came on medium frames, putting a medium box on the bottom and adding a new deep hive on top of it. The bees had built comb below one of the medium frames, so I moved it to the larger box, along with a full-size frame on which they had drawn comb. I hope the queen will gradually move to top box and lay her eggs there. I prefer to use my large hive bodies for brood and the mediums for honey, but sometimes things don’t always go as planned. I’ll remain flexible and will wait and see what the bees do.
There were three or four frames with brood which had pollen and wet, uncapped nectar around it with some capped honey at the top. There was also a frame full of bee bread and honey. These bees were in the midst of drawing out a couple frames and are in good shape. I expect the hive to keep growing.
They had drained their feeder dry, even though I had refilled it once. Because I added a new hive body and there was plenty of room, I replaced their hive-top feeder with an internal frame feeder, which holds more syrup. This should help them draw out more comb, which is an objective this year.
Hive 2
This was the strongest nuc, and I hoped it had done well enough to require a second hive body on top. That was not the case as they still had several open frames in their single hive body. This hive looks like it is going to explode soon with multiple full frames of capped brood. I added a hive-top feeder to help this hive draw out more wax. I’ll check next weekend and possibly add a new hive body then.
There were larvae on several frames and some wet brood, so the queen has been laying since we re-hived her. That’s a good sign.
Hive 3
Originally the weakest hive, this one has done a good job on catching up with the others. While it does not have as much capped brood as Hive 2 or as much stored resources as Hive 1, it has more foragers now as than it did initially. They have been drawing out frames of wax and I spotted eggs in some of its frames.
This hive had not used all its syrup, but I topped it up.
Feeding Pollen Patties
Because we were expecting rain, I took a one-pound pollen patty, cut it into thirds, and stuck one third into each of the hives. I considered this a test. Would they harvest the pollen patty when it was too rainy to fly?
Three days later, I made up another gallon of syrup and in between rain showers I opened up the hives and checked the bees. Because of my use of top feeders, I was able to do this without wearing my bee jacket or veil, although I did wear gloves. I peeked under the feeding shim, and while a few bees were on the patty, there was very little obvious consumption. This proved to be the case in all three hives. Man-made food substitutes are always second choice for bees. They apparently have sufficient fresh pollen that they don’t need my patties, even when it rains. I left it in there in any case.
While both hive top feeders were empty, the frame feeder in Hive 1 was not empty yet, but I topped it off with the rest of the gallon of syrup I had made up. The bees in that hive were very calm, and I didn’t even need to smoke them. They were clustered on the frame I had added and were working on the adjacent frames. I’m going to feed all the hives again in another three days and then inspect them more thoroughly next weekend.
The forecast is for warm sunny weather followed by cooler days late in the week with nighttime temperatures at our altitudes dropping into the upper 40s. Hopefully, all the hives will have enough bees to keep the brood warm and this won’t disrupt their reproduction. I need them to draw comb, build their food reserves, and build their strength to survive the winter and come out strong next spring.
Chicken Brooder Refresh
This weekend, we transferred our chickens from their brooder (the lower half of a dog crate) into the upper half of their dog crate. This gave me the opportunity to add new straw bedding and clean things up. The dog crate works out well as a brooder. Because it is plastic, it is easy to hose off and wipe down.
In the process of catching and transferring each chick, we noticed a few had pasty butt, sometimes known as poopy butt, so we had to spend several minutes cleaning up their little hineys with a warm, wet washcloth. If you are unfamiliar with this exercise, here’s Stoney Ridge Farmer, one of the YouTube channels I follow, explaining and showing the process.
Interestingly, only one of the Red Star layers had pasty butt while close to half of the Speckled Sussex had it. We were happy to see that the actual vent was blocked or plugged in only a couple case. Most of the time, there was just dried feces on their feathers right below their vent. (For those not in the know, hens do not have multiple orifices back there. Tthey just have one, called the vent. Yes, they relive themselves from the same hole the egg pops out of.)
The chickens are testing their wings, and one of the bigger birds was standing on top of the heater and looking up, like she was trying to gauge the height so she could fly out. I cut a length of hardware cloth to fit over the crate and stapled it to two furring strips. This made a great lid for the brooder and will keep them all inside until we move them out into their coop.
We also added a bowl of chick grit to their brooder. Several chickens gobbled it right up. Of course, a few of them pooped in the bowl. This is why most feeders are designed to keep chicks or chickens from sitting on top of them.
New Door
I also installed the new chicken coop door (see main image) from run-chicken.com. This model goes up and down with the sun. I’m testing it on the empty house so I can be certain it works before I put the chickens in there.
I had researched automated chicken coop doors online, from off-brand Chinese doors to the ChickenGuard models sold at Tractor Supply. While I liked the premium, lockable design from ChickenGuard, my first choice was the automatic door from Omelet. Instead of a string the winds up to pull the door up, the Omelet model uses a sprocket or gear to slide the door to the side. I got as far as adding to this to my cart, but it was back-ordered for about two months. The Run Chicken door was the best alternative.
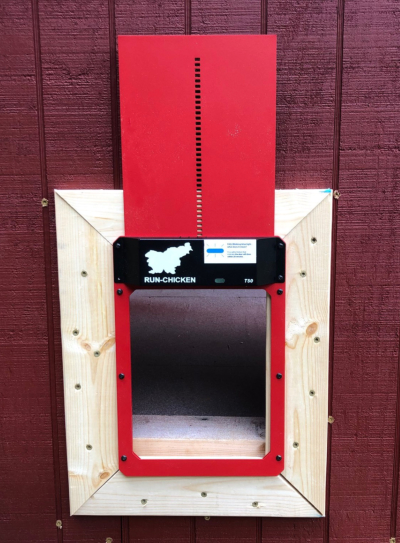
Like the omelet model, it uses a sprocket to move the door, but this one goes up and down. It is also one piece and is fully self-contained with no need to separate control box or need to staple wires to the outside of the coop. My biggest concern is that the door is a bit on the small side. They say it will work for any chicken under 10 pounds, so we’ll see. Expect a full review in a couple months.
