Step 3: Position the Bottom Board
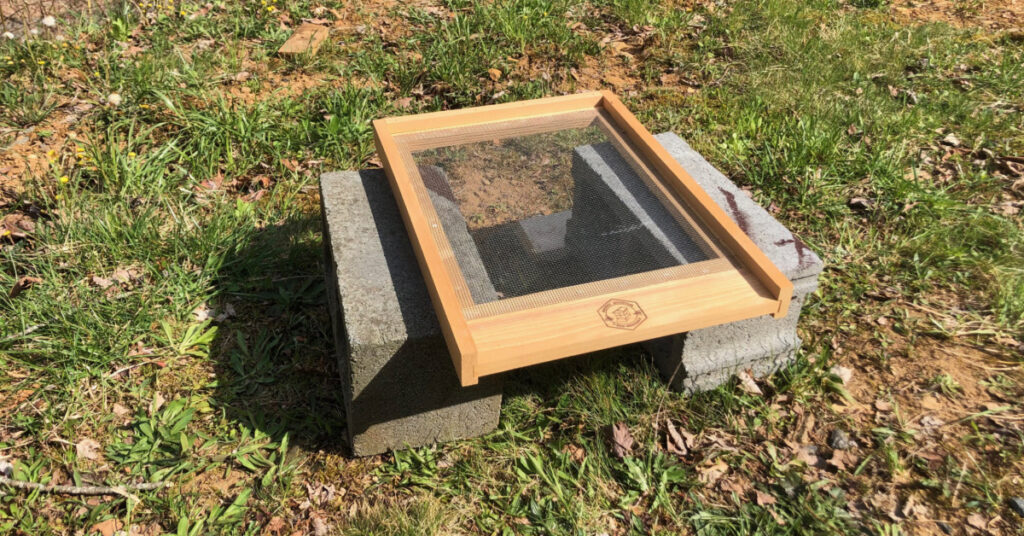
The bottom board is usually the first wooden piece of the hive and, as the name implies, it goes on the bottom. Just set it on top of your cinderblocks or other stand and double check to confirm it is level.
The bottom board usually has a rim on three sides. The rimless, open side is the front of the hive, and provides the entrance to the hive. (See step 4 for details).
Pay very close attention to where and how you position the board and be sure to face the front in the intended direction as everything from here on up will be stacked on top of the bottom board. If you need to adjust your base (step 2), best to do so now before you have a tower of components on top of it.
If your kit came with some large staples, you can use them to attach your hive body to the bottom board. Just hammer them in one her side with one staple arm on the hive body and the other on the bottom board. Don’t be concerned if your kit did not include staples because the bees will glue the two components together with staples.
There are two basic types of bottom boards: solid and screened. In our photo, we are using a screened bottom board. There are advantages and disadvantages to each kind. The solid board is usually cheaper and many consider them better for cold climates. The screened board provides better ventilation and can be used to monitor mites and the hive health. In most cases, either one should work just fine.
Click #6 below to add your hive body.


