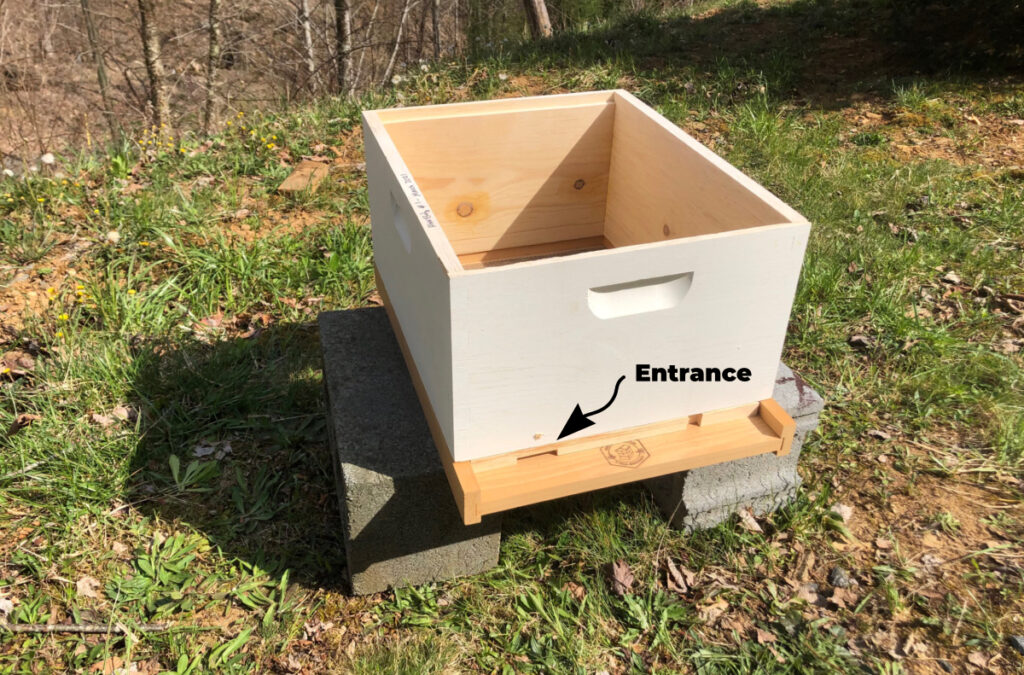
Step 5: Insert the Entrance Reducer
The hive entrance goes all the way across the front of the hive. This is great for a large, healthy colony with tens of thousands of bees out gathering nectar. It’s a larger opening than necessary for a hive that is starting out as a nuc (nucleus) or a package of bees.
The entrance reducer is a small stick of wood with a couple notches cut into it. You position the entrance reduced to give access to the hive through the medium or small hole and slide it into the entrance. (Sometimes you have to jam it in there or lift the hive body to get it inserted.) This reduces the amount of space and limits the number of bees that can come and go at the same time.
If you are using an entrance feeder, you may need to adjust or remove the entrance reducer accordingly. I don’t generally recommend entrance feeders. However, they come with some beginner bee kits. They are certainly better than nothing but you must check and refill them frequently.
Keep in mind that some of the bees in your beehive will be guard bees that keep pests and other bees from entering the hive. Having a small opening makes their job easier. This is especially important for small colonies.
Click #8 below to learn about frames.


