
On Monday, I took advantage of the warm weather to work on the chicken coop. It was a productive day in which we finished the floor and completed framing both the front and rear walls, which are the load-bearing walls.
We started our framing with the rear wall, pictured above, because it was the most straightforward wall having nothing but studs on 16-inch centers. The front wall had two 32-inch opening which we will use to access the interior of the coop for cleaning it out, maintenance, and to check on the chickens. I inserted 4×4 headers over these openings. We used our experience from building the back wall to work on the front wall. It went together well, and I will provide photos in a day or two once we get it in place on the floor.
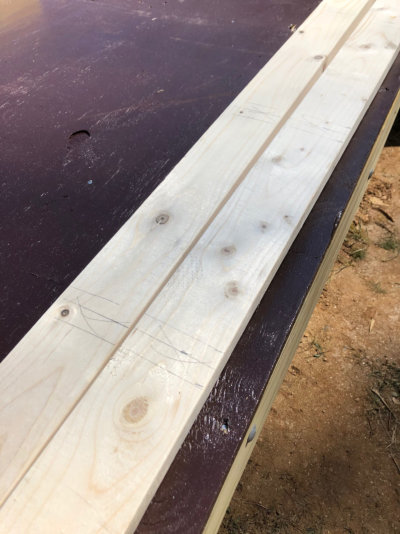
The 5-foot 4-inch height of the front wall used studs that were 59.5 inches in length. I had bought several 10-foot 2x4s, so we could cut two studs from each one. For the back wall, an 8-foot 2×4 yielded two 43.5 inch studs with minimal scrap.
The rough openings for the doors ended up being just under 32 inches wide and are 38 inches tall. Based on our elevations, this is plenty of room for me to stand in front of the opening and use a rake to pull bedding out.
In Praise of Nail Guns
I was able to borrow a nail gun from my neighbor, who is also providing additional manpower and building experience. It made me wince to spend more than $100 on 3-1/4 inch nails for framing and 2-inch nails for hanging the plywood. I have to say that in hindsight it was money well-spent. It made the job go much faster. World of difference from using a tiny gun to nail trim compared to that big sucker.
My air compressor is a small 6-gallon tank unit designed for use with my brad nailer and air-powered staple guns. I was not sure if it would be able to power the larger, heavy-duty Bostich nail gun. The manufacturer does not rate it for nail guns, but the compressor worked fine and did not run that often, probably because we worked at a slow and steady pace, rarely driving more than two nails in a row without a pause. It might not have been sufficient for a professional building a larger structure, but for us amateurs, it worked fine.
Progress Report
So far, we have completed:
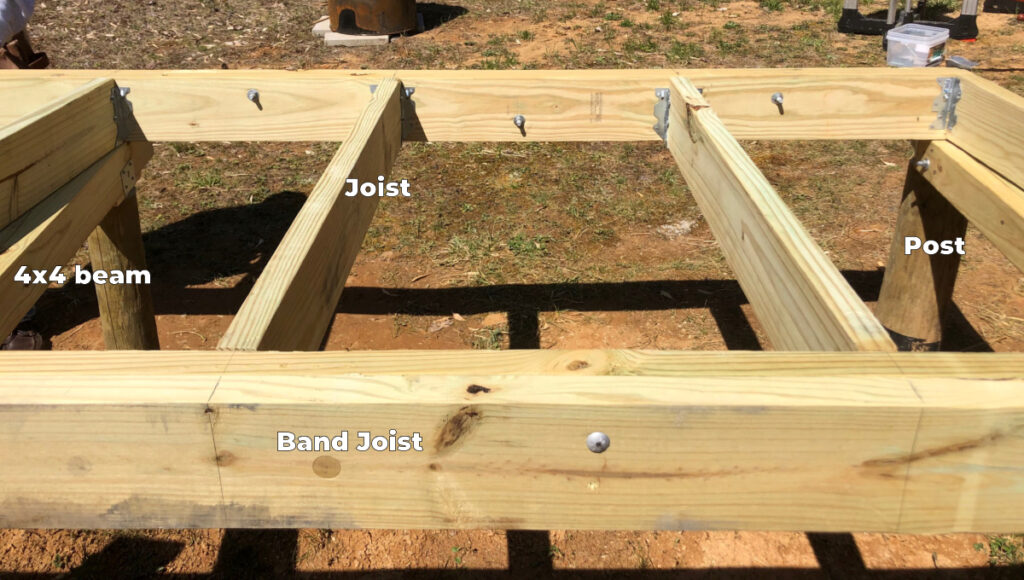
- Wooden posts or piers which were anchored in cement and then cut to the correct height
- 4×4 beams that are anchored to the top of the posts.
- Band joists, sometimes called the header joist, running the full 12-foot length of the structure, anchored to the beams. These are made of two 2x6s. Getting this perfectly square was very time consuming.
- Joists that go in between the band joists. These are also 6x6s and are anchored in place with the help of joist hangers.
- Then we mounted ¾-inch plywood on top of the joists to form our floor.
- We built the rear and front walls, which will be attached to the floor.
Next, we will finish the side walls and then erect all four. I’ll probably have to make another run to the lumber supplier before I can add the rafters. I also have to buy the roofing material, which is a separate (and much further trip). I doubt I’ll be making that one for a week or two.


