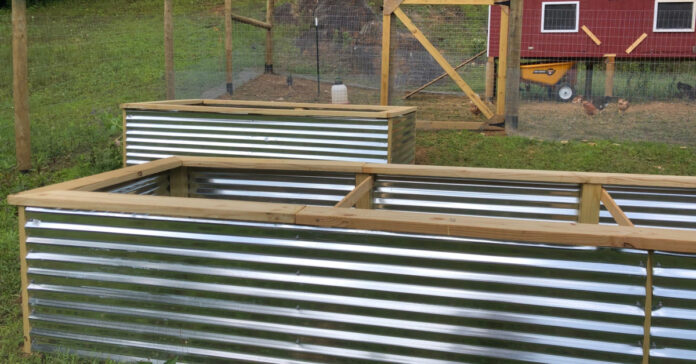
I just finished building the two raised beds we planned for this year. We plan to use this next spring and then build more, incorporating any improvements we think of after our first year of use. We still need to fill these, which should take about 160 cubic feet of dirt. More on that below.
The cost of wood is still so high that we used 2-foot by 8-foot sheets of corrugated galvanized steel for the sides and ends of the beds. I built the roof of the chicken coop from the same material.
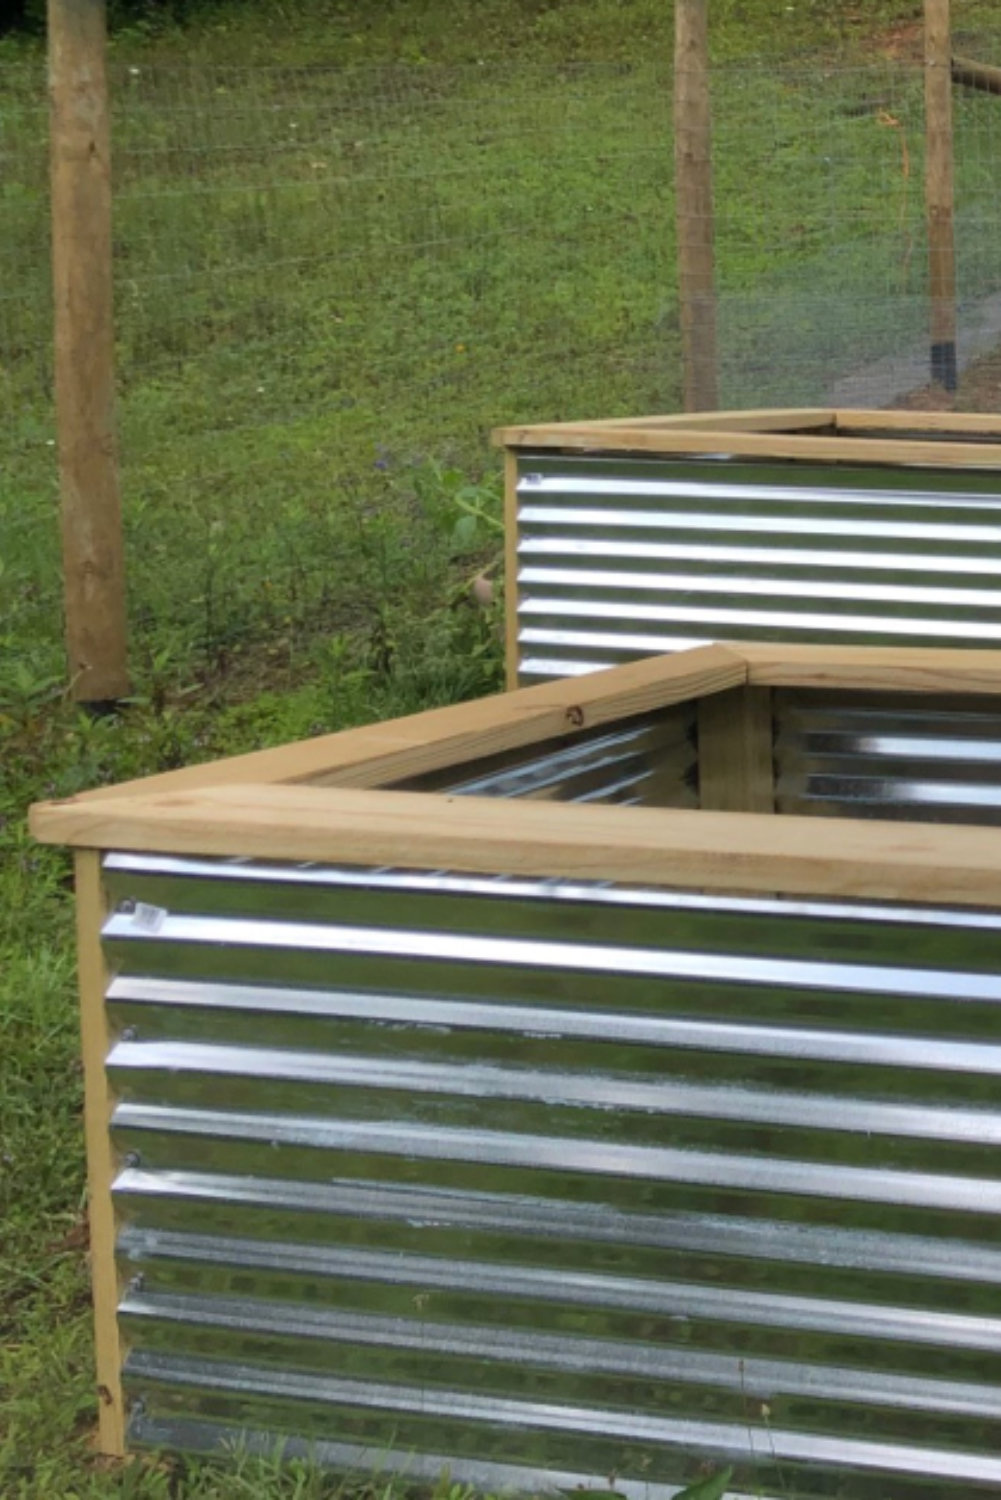
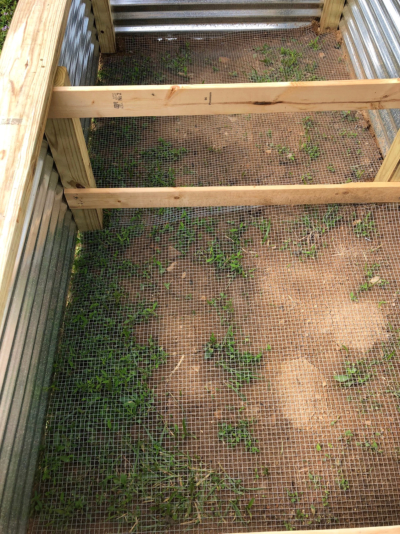
Inside each bed are 4×4 posts in each corner and at 4-foot intervals. The corrugated roofing panels are screwed into the wood. I used the table saw to cut away parts of the wood, allowing the corrugated steel to next flush against the wood. This worked well and prevents any sharp corners. The wood protects us from getting cut while working in or around the bed. On the top, I added 2x6s and screwed them into the 4x4s posts. This resulted in a very stable platform you can sit on and lean over. Like the wood in the corners, the wooden ledge will also protect us from the sharp edge of the metal.
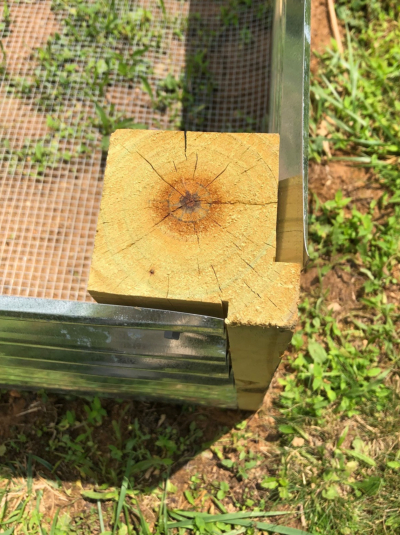
We dug in the uphill side to accommodate the slope. We used a level and tape measure to ensure both beds were level and square. After we dug them in, we lined the bottom with half-inch hardware cloth. This will keep out any voles or other destructive animals that might try to dig up into the raised bed.
Future Changes
I got the idea of using corrugated roofing material from a blog and I then watched several YouTube videos by gardeners and homesteaders. I tried to take the best ideas from each and come up with my own design. However, I have already come up with things I would do differently. (Like they say, Live and Learn.) For example:
- We built two beds, one 4×8 and the other 4×12. In the future, we will avoid 12-foot long beds as it was not as sturdy. While the crews into the wood held, it provided a pivot point where the edge would swing. If we had used 12-foot roof sheets, it might have worked better, but attaching an 8-foot and a 4-foot section with screws into 4×4 was not optimal.
- Because I used 8-foot panels, I thought I could use 8-foot 2x6s along the top edge. I would have been better off using 10-foot long 2x6s. While the metal sheets were 8-feet, there was an additional inch of wood at each end. So instead of cutting the 8-foot (96-inch) 2×6 in have, giving us two 48-inch pieces, I had to cut them at 50 or even 52 inches. I ended up with with extra 44-inch long sections of 2×6 that I can’t use on this project and I consumed at least two more 2x6s than I had planned on. It would have been more efficient to use 10-foot long boards.
- For the same reason, the 4-foot wide hardware cloth leaves an inch or two open along the edges. We’re going to pour some gravel along these edges, which the voles can’t dig through. Next time, I will run the hardware cloth from side-to-side instead of end-to-end. I will also make it stick out a bit, setting the bed on it rather than fitting it inside. That will give us more complete coverage.
Filling the Beds
Rather than just dumping dirt inside, we are interested in using Hügelkultur and filling the bottom third to half with logs and wood chips. I’m hoping to throw most of my burn pile—branches and limbs from around the place—into the bottom. Then I’ll fill in around them with wood chips and sawdust from a local saw mill that sells wood chips by the pickup truck load. The top 12 to 15 inches will be whatever combination of dirt and compost my wife wants.
Filling the raised beds is one of those jobs that would go easier if I had a tractor with a front-end loader, but that’s another reason we only built two beds.
