I have been doing a great deal of work around the house as we continue to move closer to actually listing it on the market.
I have emptied my bedside table, every drawer and file cabinet in my office desk, and the bedroom gun cabinet. (It’s funny what you hang on to. I found my stacks of stuff were about 75 percent things that I could throw out and 25 percent stuff that was worth packing.)
As of today, there is nothing on my dresser and my desk is as clean as it has ever been. We moved furniture and lots of boxes into the freshly painted back room in the basement so that the rooms will be less cluttered and look bigger for the prospective buyers. The realtor and her designer requested this during the staging, and they brought a few objects d’art and fake flowers to make the place look purty. You know, because nothing impresses house hunters like plastic plants. But the photos have been shot and we should have or house listed by Thursday or Friday.
More Chores
One day late last week, I fixed a ceiling fan, rewired a three-way switch, and fixed the outdoor low-voltage lights. I must have run up and down the stairs a least a dozen times turning on and off one breaker or another. Still, that was preferable to polishing the brass hardware on the front door, which my wife did. By hand. For hours.
I also spent a considerable amount of time scraping paint, sanding, and readying parts of the basement for painting.
Heavy Cabinets
We have two large steel cabinets, or lockers, in the basement that formerly held my power tools, plumbing supplies, electrical tools, painting supplies, and had a shelves dedicated to nails and screws. Most of the contents have been transported to our prepper property, so I decided to take the cabinets themselves on my next trip. This would not only save room on the moving truck, but it would allow me to properly unpack those boxes of tools and allow me to paint the wall behind the cabinets. I get out the measuring tape, and at four feet wide and two feet deep, darned if they are not too wide to fit in the pickup truck bed due to the wheel wells. I can, however, fit one at at time if I ship it on its side and lash it down.
So I go to slide one of the tool lockers away from the wall and boy is it heavy! I can barely budge it. I know they came in large flat boxes and I assembled them in the workshop, but I don’t remember them being quite that heavy. I’m suddenly wishing I had one of those nice cabinets on wheels. Damn! I must be getting old.
Well, I am, but that wasn’t the reason they were so tough to shift. I had used Tapcon screws to anchor the cabinets to the concrete block wall to keep them from tipping over. I wasn’t just trying to move the cabinet, I was trying to shift the whole house! No wonder they felt so heavy.
Those Tapcon Screws are Tough
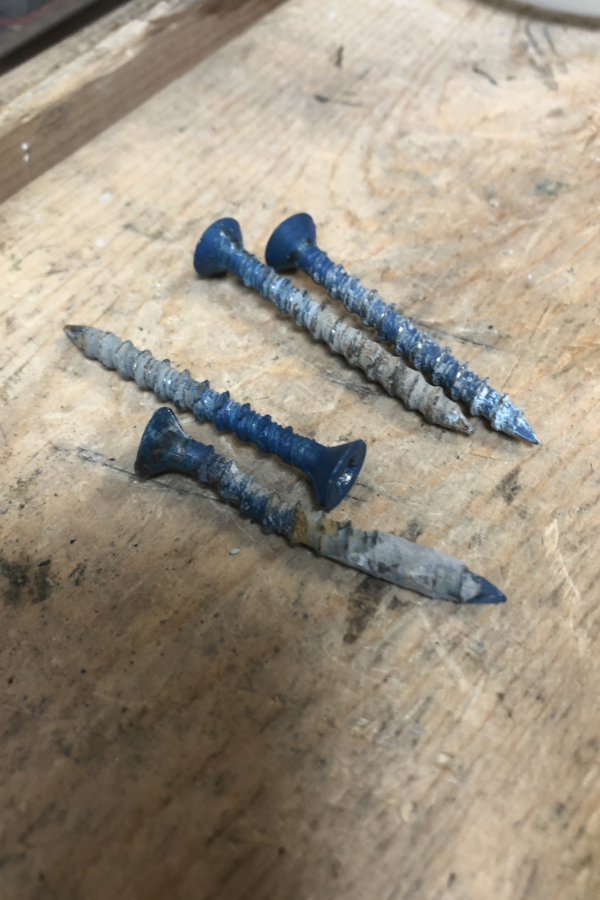
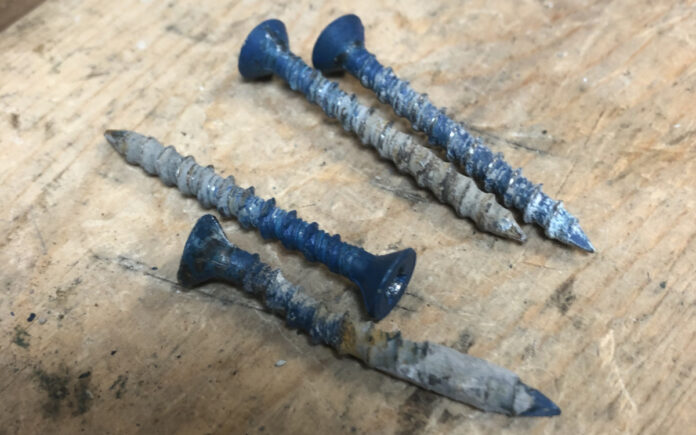
Apparently, I had wanted to be extra safe because I had used three screws in each cabinet. On one cabinet, they all unscrewed and was able to slide the cabinet away from the wall. However, on the second cabinet, two of the three screws refuse to budge.
Now keep in mind that all my power tools are at our prepper property. All I have is a battery powered drill. My hammer drill and my old-school plug-in drill are hundreds of miles away. I throw my body weight against the drill and try again. Pow! The screw actually breaks. The head followed by about three quarters of an inch of shaft comes out and the rest of the screw is buried deep in the hole. I’m fine with that. It may not be the perfect solution, but it solves the problem.
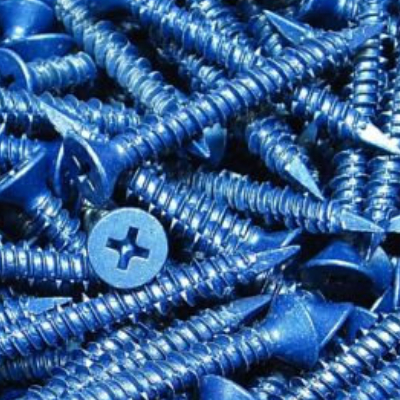
Now there’s just one screw left, and it is a tenacious son of a gun. I try screwing it in. Nothing. I throw my body into it and try screwing it out. Nothing. I try to grab it with a pair of pliers and turn it, but it doesn’t budge. Eventually, the head is stripped and my drill clatters as the bit turns, but the screw is obstinate.
Now if I had my power tools, I would have pulled out a rotary tool and cut the head off the screw, but that’s not an option. I look in my tool chest and I grab a hammer and give it a few good whacks. If I can get it to budge just a little, I’m pretty sure it will come out. Nothing . I own four different pry bars that range from about 8-inches up to at least three feet. Of course, the only one I have available is the 8-inch model and the screw laughs at it. Finally, I take a chisel, work it behind the head of the screw and start pound on the chisel with my hammer, trying to cut off the head. I’ll show this screw that there’s more than one way to skin a cat, as my dad used to say.
The screw refuses to die, but I do notice that it is bending. I whack it over a few more times, and then I switch sides and whack it back the other way (left handed, mind you). Crack! The screw pops loose as the cement gives way. Whew! The battle was finally over. I was victorious, but I admit that I had my doubts there for a while.
I am here to attest that the blue Tapcon screws are dang tough and concrete blocks apparently get harder with age. And I’ve learned my lesson. From now on I am using the hex-head Tapcon screws so I can remove them more easily.
The wall behind the cabinets is now painted, but I think fighting with the screw took almost as long.
If you like this diary entry, you might enjoy Prepper Diary October 21: Sometimes the Old Stuff is the Good Stuff
